Well similar things happen with cat photos if you use a flash. And I have found it is not always advisable to use the "red eye reduction" flash when taking snapshots of my cats, the reason being that cats don't tend to sit still when you want them to, and by the time your camera takes the snapshot, the cat has changed poses or closed their eyes or moved entirely out of the picture. So I just take my photos and then correct the green eye effect, as discussed here. So, here is a photo of one of my cats, showing a full green eye effect:
(Yes I know, the background is not all that great. But we're just doing the eye thing here.)
Even though the pupils are mostly contracted, they still reflected green from the flash and do not look natural. So let's correct this and make the cat look more true to life.
We will start by selecting the pupils. This can be done by using either Select -> Color Range... from the top menu, or if you have a graphics tablet you can make your selection directly with the Lasso tool. You want to leave a bit of the white reflection unselected:
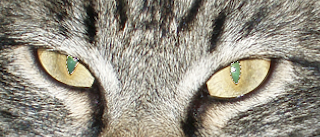
Now the first thing we will do is remove the color by selecting Image -> Adjustments -> Hue and Saturation, and taking the Saturation level all the way down to -100, removing all of the green color:
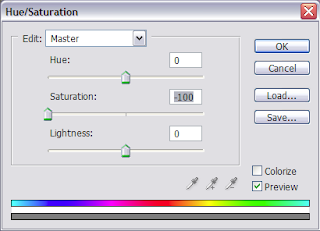
This gets us part way there -- now the pupils are gray, but they still don't look quite right:
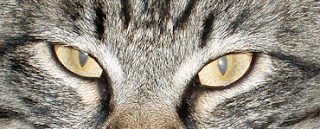
The final step is to darken the pupils, again using Image-> Adjustments -> Hue and Saturation. The tool also has a bar to adjust Lightness, and we adjust it all the way down to -100, making the gray become black:
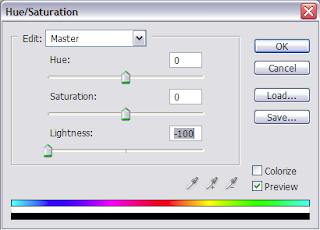
The reason we had to select around the white reflection is that we did not want it to go away when we darkened the pupils -- leaving it there makes the end result look more natural. Here is the end result:
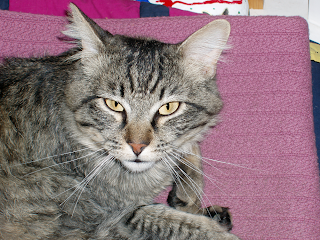 (Click the photo to see a larger image)
You should always keep the Preview box checked so you can see the effects of your adjustments as you make them. Sometimes I have found that I don't want to take the lightness all the way down to -100. It depends on the photo.
Well that's it for today.
Happy Photoshopping!

