Today's tip is how to use the Measure Tool to straighten a picture.
Here's the original photo we want to level:
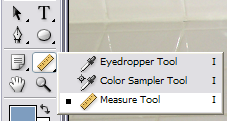
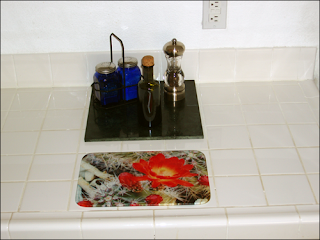 The Measure Tool will let us take the guesswork out of rotating this photo to level the edge of the counter. The Measure Tool looks like a little ruler:
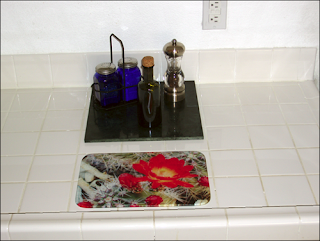
 With the Measure Tool selected, hold down the mouse button and draw a bead from the left side to the right side that is parallel with the counter edge, releasing the mouse button when you reach the end (in this case the tile grout provides a ready-made line to follow). If you can't see where the line is please click on the photo to bring up a larger image:
 Now select Image -> Rotate -> Arbitrary:
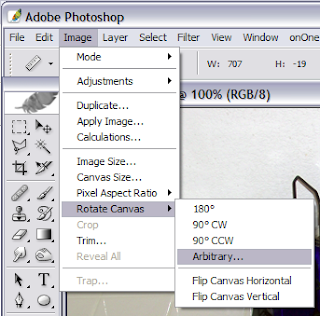 You will see when the Rotate window pops up that it has calculated the exact degree of rotation needed to level the image. Double check that the correct direction is selected -- Clockwise (CW) or Counterclockwise (CCW) -- before pressing OK:
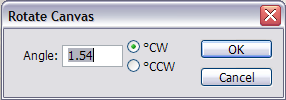 After the rotate, the picture looks like this:
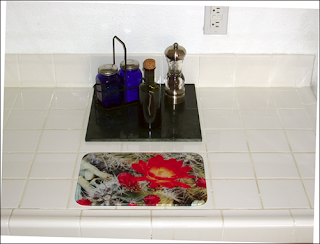 The canvas has been enlarged and filled in with the background color (in this case white) behind the rotated picture. Now use the rectangular Marquee to select the part you want, crop the image and make any final edits to arrive at the finished and leveled photo:
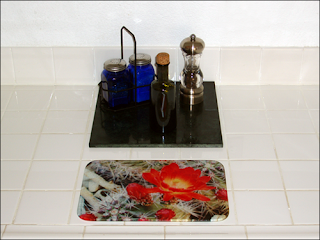 Well there's today's tip, Enjoy!

No comments:
Post a Comment